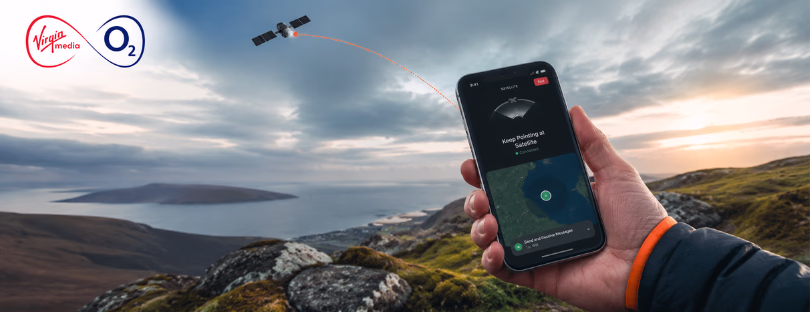
How to Set Up Starlink Roam (Step-by-Step Guide)
Satellite internet used to mean complicated installs, fixed locations, and a lot of patience. That’s exactly what SpaceX set out to change with Starlink Roam.
And to be fair, they did.
Because the reality is this: Starlink Roam is probably the easiest “serious” internet infrastructure you’ll ever set up. No technicians. No drilling. No waiting days for activation.
But that doesn’t mean people don’t get it right on the first try.
So here’s what actually happens between opening the box and getting online, based on official guidance, user experience, and how the system performs in real-world conditions.
What Starlink Roam Actually Is
Before setup, it’s worth understanding what you’re dealing with.
Starlink Roam isn’t just portable Wi-Fi. It’s a satellite-based internet system designed for mobility. Think RV travel, remote work, off-grid locations, and temporary setups where traditional connectivity breaks down.
Unlike fixed Starlink residential plans, Roam lets you move across regions and, depending on your plan, across countries. It connects to a constellation of low Earth orbit satellites, which is why it can deliver speeds typically in the 50 to 150 Mbps range with relatively low latency for satellite internet.
That’s the promise. But it only works if you set it up properly.
The Setup Is Simpler Than It Looks
Starlink markets the setup in almost absurdly simple terms: plug it in and point it at the sky.
That sounds like marketing language, but in practice, it’s surprisingly accurate.
Still, there are a few steps you don’t want to underestimate.
Step-by-Step Setup
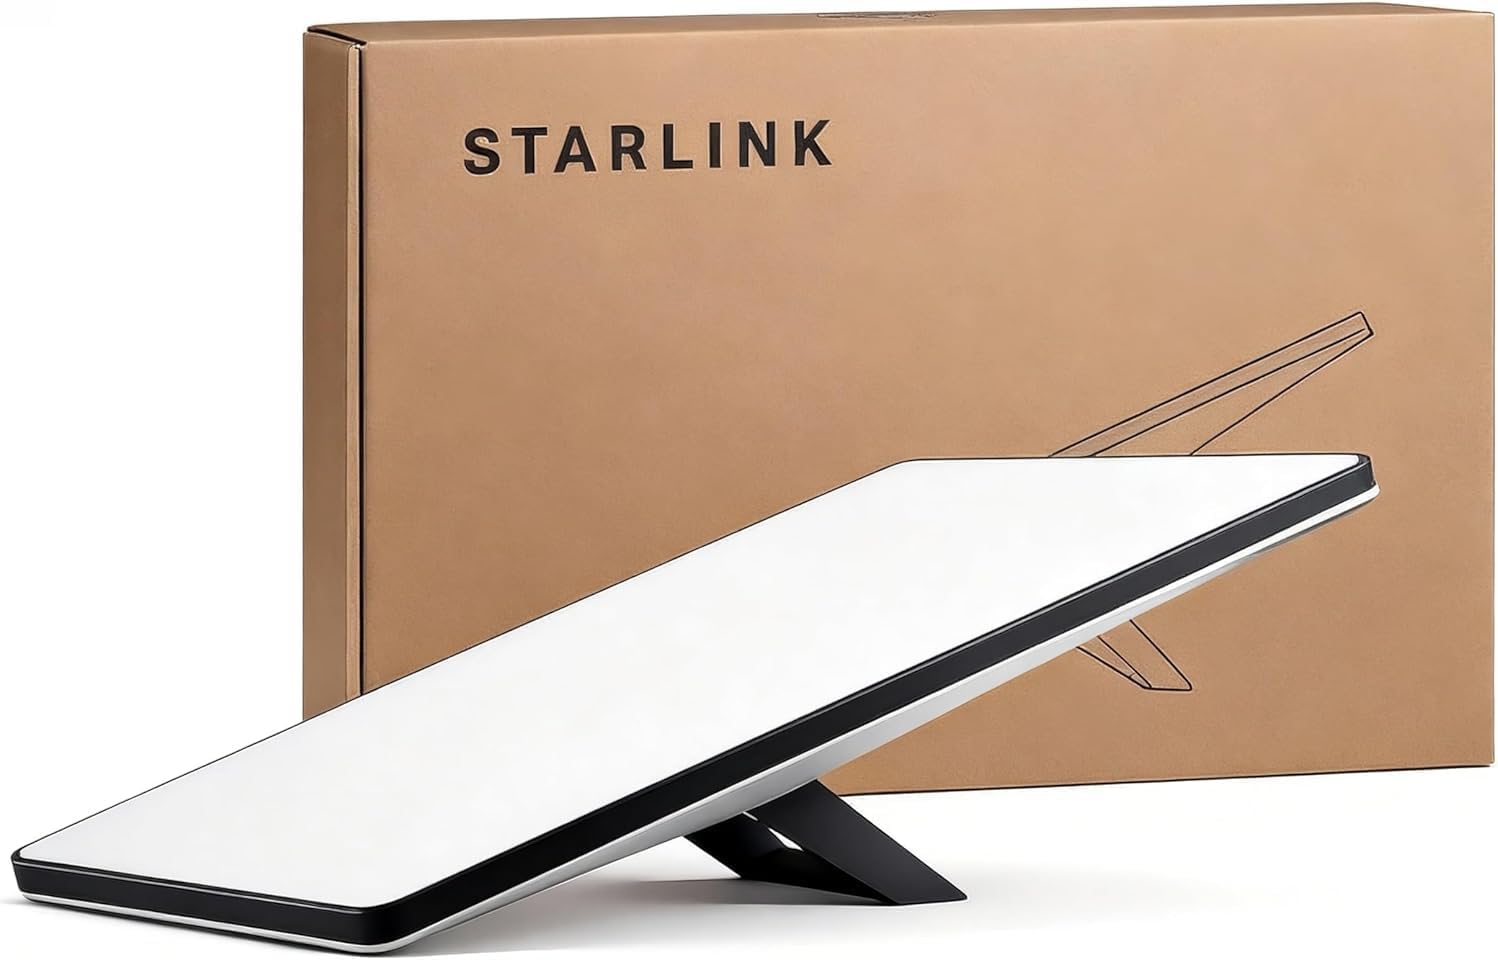
Unbox and check components
Your kit includes everything you need:
- Satellite dish
- Wi-Fi router
- Power supply and cables
- Mount or stand
There’s no manual configuration required at this stage. Everything is pre-paired.
Place the dish correctly
This is where most setups succeed or fail.
The dish needs a completely clear view of the sky. Not partially clear. Not “good enough.” Clear.
Trees, rooftops, balconies, and even thin obstructions can interfere with the signal. The system constantly tracks satellites, so even intermittent blockage can cause dropouts.
The Starlink app includes an obstruction scanner. Use it. It’s one of the most practical tools in the entire setup process and often the difference between a stable connection and a frustrating one.
Connect the hardware
- Plug the dish into the router
- Plug the router into power
- Wait for the system to boot
There’s no complex wiring or configuration. This is where Starlink really changes expectations compared to traditional satellite internet.
Let the dish align itself
The dish will automatically move and position itself to lock onto satellites.
You don’t need to aim it manually. In fact, trying to “optimize” it yourself usually makes things worse.
Initial alignment can take a few minutes, sometimes longer depending on location and satellite visibility. First-time setups may take up to an hour before the connection fully stabilizes.
Connect to your network
Once the system is online:
- Connect to the Starlink Wi-Fi network on your device
- Open a browser or the app
- Set your network name and password
At this point, you’re connected.

Activation and Plan Setup
Getting online physically is one thing. Activating the service is another.
You’ll need to:
- Log in to your Starlink account
- Enter your device details
- Choose a Roam plan
This is where your use case matters.
Roam plans vary between regional and global access, with different performance priorities. Choosing the wrong plan can limit where you can use the service or how it performs under load.
This is not a step to rush through.
What Most People Get Wrong
The setup is simple, but performance depends on details that many users overlook.
Obstructions are the main problem
If your connection drops or slows unpredictably, it’s almost always due to obstructions.
Even partial interference can lead to interruptions because the system constantly hands off between satellites. A clear sky view is not optional if you want consistency.
Indoor placement doesn’t work
This isn’t a router you can hide behind a window.
Glass, walls, and ceilings block or degrade the signal. The dish needs to be outdoors with direct sky visibility.
Power setup is underestimated
Starlink requires stable power. If you’re using it in a van, off-grid setup, or remote location, your power system becomes part of your connectivity setup.
This is where many first-time users run into issues.
Real-World Setup Scenarios
Where Starlink Roam becomes interesting is in how it’s used.
RV and van travel
- Dish mounted outside or placed nearby
- Router inside the vehicle
- Powered via inverter or battery
Once you’ve done it once, setup takes minutes.
Remote work locations
- Dish placed on a terrace, rooftop, or open ground
- Cable routed indoors
- Stable enough for video calls, uploads, and daily work
For digital nomads working outside major cities, this is a game-changer.
Temporary stays
Cabins, remote accommodations, or places with unreliable Wi-Fi are where Roam starts to justify its cost.
Instead of relying on whatever network is available, you bring your own.

Where It Still Falls Short
Starlink Roam is powerful, but it’s not frictionless.
Cost is the first barrier. Hardware plus monthly service is significantly higher than mobile data or eSIM options.
Portability is real, but it comes with trade-offs. You’re carrying hardware, setting it up, and managing power. It’s not instant.
Network prioritization can also affect performance. In congested areas, Roam users may experience reduced speeds compared to fixed residential users.
These limitations matter, especially if you’re comparing it to more lightweight solutions.
The Bigger Picture: Starlink vs eSIM vs Mobile Networks
For Alertify readers, this is where things get strategically interesting.
Starlink Roam isn’t directly competing with traditional roaming or eSIM providers. It’s solving a different problem.
Mobile operators still dominate urban connectivity. eSIM providers offer instant, flexible data in well-covered regions.
Starlink operates where those systems struggle.
In cities, eSIM wins on convenience. No hardware, instant activation, seamless switching.
In remote environments, Starlink becomes the only viable high-speed option.
What we’re seeing is not replacement, but layering.
Users are combining:
- eSIM for mobility and urban use
- Starlink for reliability in remote or unstable areas
That combination is becoming the new standard for serious travelers and remote professionals.
What the Trend Signals
Starlink Roam is part of a broader shift toward user-controlled connectivity.
Instead of relying on local infrastructure, users are starting to carry their own.
At the same time, the market is moving toward hybrid models. Satellite networks, mobile operators, and eSIM platforms are beginning to overlap, not compete directly.
We’re already seeing early signs of satellite-to-device integration and tighter convergence between network types.
This isn’t a temporary phase. It’s the direction the industry is heading.
The Real Conclusion
Setting up Starlink Roam is not complicated. That’s almost the least interesting part.
What matters is what it enables.
For the first time, high-speed internet is no longer tied to place. It’s something you deploy, not something you wait for.
But it doesn’t replace existing connectivity models.
It exposes their limits.
In urban environments, eSIM and mobile networks remain faster, cheaper, and easier. In remote or unreliable regions, they fall apart, and Starlink takes over.
The future is not one solution winning. It’s a layered approach where users choose the right connectivity for each context.
And that’s the real shift.
Connectivity is no longer about coverage. It’s about control.