How to Activate eSIM on iPhone: Easy Setup Guide
Activating an eSIM on an iPhone used to feel like something only early adopters did. Today, it is a normal travel habit: buy a plan online, install it before departure, land, switch on data and skip the airport SIM kiosk.
The process is not difficult, but it is slightly unforgiving. One missed setting, one expired QR code, or one forgotten roaming toggle can turn a simple setup into a travel headache. Here is the practical version: how to activate an eSIM on iPhone, what each method means, and where travellers still need to pay attention.
Before you start
First, make sure your iPhone supports eSIM and your carrier or travel eSIM provider supports activation on iPhone. Most modern iPhones do, but availability still depends on region, model and carrier. You also need stable Wi-Fi because the eSIM profile has to be downloaded before it can connect to the mobile network.
Open Settings, then go to Cellular or Mobile Service. Tap Add eSIM or Set Up Cellular. Your iPhone usually offers a few activation paths: transfer from another iPhone, use a QR code, carrier activation, or manual details.
Do not delete your old SIM or current eSIM until the new one is working. Some banking apps and two-factor authentication codes may still depend on your primary number.
 Transfer from another iPhone
 Transfer from another iPhone
If you are upgrading to a new iPhone, eSIM Quick Transfer is the cleanest option when supported by your carrier. Both iPhones should be nearby, unlocked and connected to Wi-Fi, with Bluetooth turned on. On the new iPhone, go to Settings, Cellular, Add eSIM, and choose transfer from a nearby iPhone.
Your old iPhone will show a prompt asking you to confirm the transfer. You may also need to enter a verification code shown on the new device. Once confirmed, your phone number moves without waiting for a physical SIM.
This is useful for mainstream users upgrading devices, but it is not universal. Some carriers still require app activation, a QR code or customer support approval.
Use a QR code
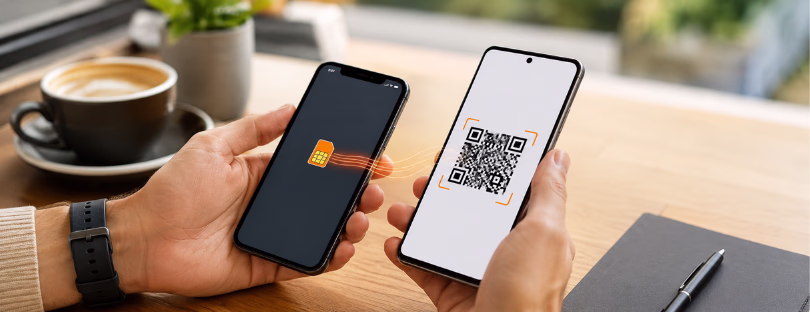
For many travel eSIMs, the QR code is still the most common activation method. Your provider sends it by email, app or account dashboard. On your iPhone, go to Settings, Cellular, Add eSIM, then tap Use QR Code. Scan it and follow the prompts.
If the QR code is already on the same iPhone, you do not always need a second screen. Apple allows users to press and hold a QR code image in Mail, Photos or Safari and add the eSIM directly.
After installation, label the line clearly. For example: “Primary,” “Business,” “Japan Travel,” or “Europe Data.” It sounds boring until you are tired, roaming and trying to understand which line is using data.
Carrier activation
Some carriers can assign an eSIM directly to your iPhone. In that case, you may see a notification saying “Carrier Cellular Plan Ready to Be Installed” or “Finish Setting Up Cellular.” Tap it, continue through setup, and then make a quick test call or check mobile data.
This is the most invisible version of eSIM activation: no plastic card, no tiny tray, no paper envelope. Large operators such as AT&T, Verizon and T-Mobile support forms of digital eSIM activation, although the exact flow varies by country and account type.
The downside is that carrier activation works best inside a mature carrier ecosystem. For people moving between countries or buying independent travel eSIMs, QR code and app-based installation are still more common.
Manual details
Manual activation is useful when a provider gives you technical details instead of a QR code. You may receive an SM-DP+ address, an activation code and sometimes a confirmation code.
Go to Settings, Cellular, Add eSIM, then Use QR Code. At the bottom, tap Enter Details Manually. Paste the information exactly as provided. One wrong character can stop the installation.
Manual setup is not for everyone. If you are not comfortable copying technical strings, choose a provider with QR or app installation. Ease of setup should count as part of the product.

Travel setup
For travel eSIMs, install the eSIM while you are still at home on reliable Wi-Fi. Do not wait until you land unless you enjoy testing airport Wi-Fi under pressure. Most travel eSIMs can be installed before departure, while validity usually starts when the eSIM connects to a supported network at the destination. Still, read the provider’s rules.
When you arrive, select the travel eSIM in Cellular settings, turn on the line, enable Data Roaming if required, and set Cellular Data to the travel eSIM. Keep your primary line available for calls or SMS if needed, but avoid letting it use expensive roaming data.
This is where the iPhone is strong. Dual SIM management makes it possible to keep your home number active while routing data through the travel eSIM. For business travellers, that is the real upgrade.
How to activate eSIM on iPhone – Final signal
eSIM activation on iPhone is simple enough for everyday users, but the experience still depends heavily on the provider behind it. Apple has built several clean activation routes; carriers and travel eSIM companies decide how polished the journey feels.
Compared with traditional roaming, travel eSIMs give more visibility before you spend. Compared with local SIM cards, they remove the queue, the plastic and the language barrier. But they are not perfect for everyone. If you need local voice, SMS, or a number for banking verification, a data-only travel eSIM may not fully replace your main line.
The bigger market signal is clear: connectivity is becoming something travellers expect to manage before the trip, just like boarding passes and hotel check-in. The winners will not only be the cheapest providers. They will be the ones that make activation boring, predictable and almost impossible to get wrong.