Klook launches eSIM in its app, available for 60 countries for now
Klook is a world-leading travel and experiences platform, with over half a million offerings in over 2,700 destinations! You can browse their growing collection of travel activities and services in 15 languages, and complete bookings seamlessly with 40 currencies and over 40 payment methods. Now – Klook has begun selling ‘Klook eSIM’ in its app.
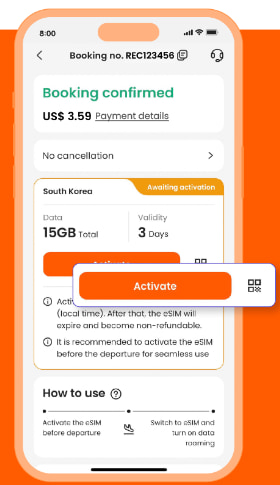
The eSIM, which is available in about 60 countries for now, can be activated in its app after purchasing without scanning the QR code. Klook plans to extend countries or regions available for the eSIM in the future.
Klook offers a campaign celebrating the launch of the eSIM until September 30, 2024, in which an eSIM package is sold at 100 yen for three to seven days in South Korea, Thailand, Singapore, the U.S., Europe, the U.K., Australia, Indonesia, and Malaysia.
Traditional SIM card VS eSIM
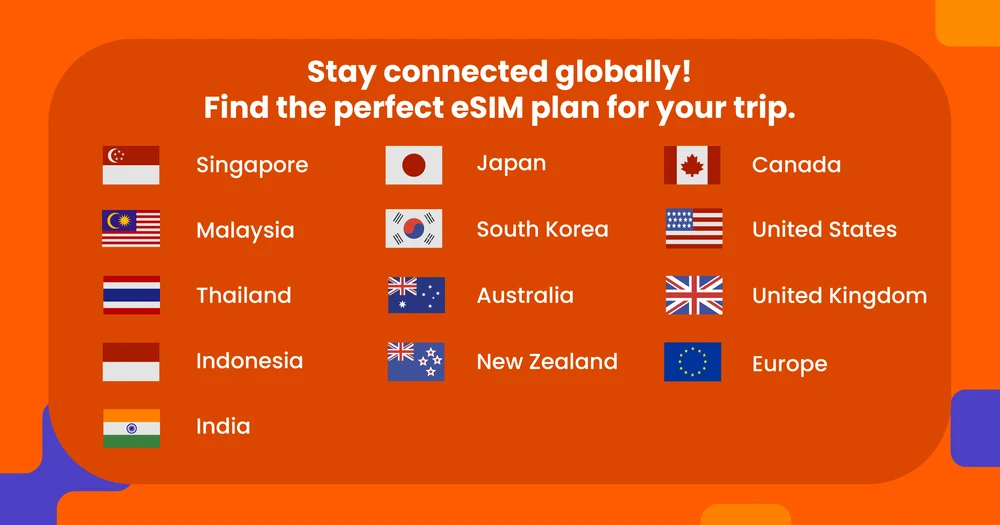
Where can I purchase an eSIM for my next trip?
Country eSIM Plans
- Singapore (from USD$0.79)
- Malaysia (from USD$0.59)
- Thailand (from USD$0.85)
- Indonesia (from USD$1.09)
- India (from USD$3.79)
- South Korea(from USD$1.15)
- Japan (from USD$1.50)
- Australia (from USD$1.49)
- New Zealand (from USD$1.99)
- United States (from USD$2.19)
- Canada (from USD$5.89)
Regional eSIM Plans
- Europe: Covers 36 countries, including Turkey (from USD$2.49)
- United Kingdom: Covers England, Scotland, Wales and Northern Ireland (from USD$2.49)
- North America: Covers USA, Canada, and Mexico (from USD$5.80)
How can I activate the eSIM on iOS devices?
- Step 1. Open the Klook app. Go to Account > Bookings. Tap the “Activate” button. (You can also scan the QR code on your voucher from Settings > Cellular > SIMs > Tap Add eSIM > scan QR code.)
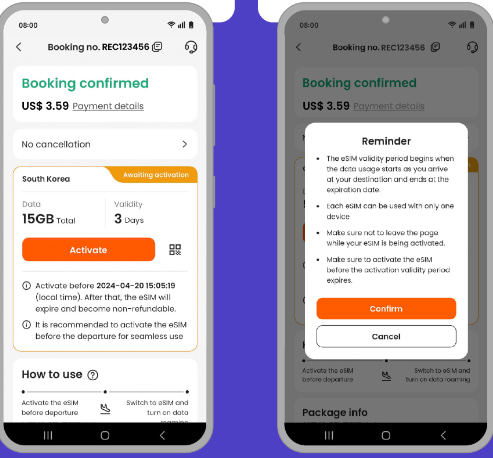
- Step 2. Make sure to read the reminder before activation. Don’t worry – your data usage won’t start immediately upon activation.
- Step 3. Activate the eSIM on a stable connection. Please do not leave the page while the eSIM is being activated.
- Step 4 & Step 5. This is to use the eSIM for calling and iMessage right away. Select the “Primary” line before arriving at your destination.
- Step 6 & Step 7. Set the “Primary” line to use cellular data until you arrive at your destination, and toggle off “Allow Cellular Data Switching”. This way, you can ensure the eSIM data won’t be used in advance.
- Step 8. When you arrive at your destination, turn on the eSIM line and turn on data roaming.
- Step 9. Change the cellular data setting to use your eSIM.
- Step 10. Check the eSIM status in your Klook booking. Tap the icon on the top right corner to get help with any issues. Please note that checking the data balance on the app is enabled only for the “Data in total” packages.
How can I activate the eSIM on Android devices?
- Step 1 & 2. Open the Klook app. Go to Account > Bookings. Tap the “Activate” button. (You can also scan the QR code on your voucher from Settings > Cellular > SIMs > Tap Add eSIM > scan QR code.) Please read the reminder and activate the eSIM. Don’t worry – your data usage won’t start immediately upon activation.
- Step 3. Allow the eSIM to be installed on your device.
- Step 4. If you didn’t allow the eSIM installation right away, you can go to the device’s settings to allow it later.
- Step 5. Activate the eSIM on a stable connection. Please do not leave the page while the eSIM is being activated.
- Step 6. Give the eSIM a name.
- Step 7. Set to use your original SIm to be used for calling, messaging, and data use until arrive at your destination.
- Step 8 & 9. When you arrive at your destination, turn on the eSIM line and switch mobile data to the eSIM.
- Step 10. Turn on data roaming. You can check the eSIM status in your Klook booking. Tap the icon on the top right corner of the booking details page to get help with any issues. Please note that checking the data balance on the app is enabled only for the “Data in total” packages.


