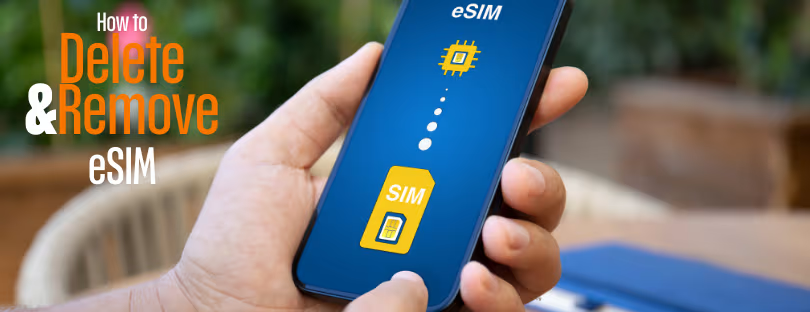
How to Delete and Replace an eSIM
If you’re anything like me, you appreciate the convenience that eSIM technology has brought into our travel-loving, tech-savvy lives. No more fumbling around with tiny SIM cards, risking dropping them or losing them forever in the crevices of airport lounges or hotel rooms. However, there are moments when you might need to delete or replace an eSIM—perhaps you’re switching carriers, upgrading your phone, or simply tidying up your digital clutter.

Whatever the reason, let’s walk through this together, step by step, on how to easily delete and replace your eSIM.
Understanding Your eSIM
Before we dive into the deletion and replacement process, let’s take a quick minute to understand exactly what an eSIM is. An eSIM, or embedded SIM, is a digital SIM card that’s built directly into your phone. Unlike traditional SIM cards, you can’t physically remove an eSIM—it’s part of your device’s hardware. Instead, you manage it through your device settings.
When Should You Delete Your eSIM?
Deleting an eSIM might sound intimidating, but it’s a straightforward process. You might delete your eSIM if:
- You’re changing network providers
- You’re upgrading or resetting your phone
- You’re running out of eSIM profiles (yes, there’s usually a limit!)
- You’re troubleshooting connectivity issues
Step-by-Step: Deleting Your eSIM
The process differs slightly depending on your device, but here’s a general breakdown:
iPhone Users:
- Open your Settings app.
- Tap on Mobile Data or Cellular.
- Select the eSIM plan you want to delete (usually listed under Cellular Plans).
- Scroll down and tap Delete eSIM or Remove Cellular Plan.
- Confirm your decision by tapping again when prompted.
That’s it—your eSIM profile is now deleted.
Android Users (general guide):
- Open your Settings app.
- Navigate to Connections or Network & Internet.
- Select SIM card manager or Mobile Network.
- Find the eSIM profile you wish to remove and tap it.
- Tap Remove eSIM and confirm.
Done! You’ve successfully cleared that digital space.
Important Tip:
Always ensure you have a backup or alternative connectivity method available, especially if you’re deleting your primary data connection.
 How to Replace Your eSIM
 How to Replace Your eSIM
Replacing your eSIM typically involves installing a new eSIM profile. Let’s break it down:
Step 1: Choose and Purchase Your New eSIM
First things first, you’ll need to choose your new eSIM plan. You can do this through your mobile carrier’s app, website, or a third-party eSIM provider like Airalo, Nomad, or Ubigi. Once you’ve selected your preferred plan and paid for it, you’ll receive a QR code or manual activation details.
Step 2: Activate Your New eSIM
Here’s how you do it:
iPhone:
- Open Settings, then tap on Mobile Data or Cellular.
- Select Add eSIM.
- Use your camera to scan the QR code provided by your carrier, or enter the activation details manually if prompted.
- Follow the onscreen instructions to finalize activation.
Android:
- Go to Settings, then tap on Connections or Network & Internet.
- Select SIM card manager, then tap Add mobile plan.
- Scan the QR code or manually enter your activation details.
- Confirm and follow the prompts to complete your setup.

What If Something Goes Wrong?
Don’t panic! It’s quite common to encounter minor issues while activating an eSIM, like QR codes failing or profiles not loading immediately. Here are quick troubleshooting steps:
- Restart your device: A classic solution fixes many minor glitches.
- Check your internet connection: Make sure you’re connected to Wi-Fi or have a secondary data plan active.
- Rescan or re-enter your details: Double-check to ensure no mistakes were made during entry.
- Contact your provider’s support team: Most providers offer live chat support or quick email assistance.
Pro Tips for Managing Your eSIM
- Label Your Plans: Give clear names to your eSIM plans, such as “Travel Plan EU” or “Work SIM.” This makes managing them much easier.
- Keep Records: Store your QR codes or activation emails securely in cloud storage or your email, just in case you need them again.
- Test your connection: Once activated, quickly browse or run a speed test to ensure everything is functioning smoothly.
How to Delete and Replace an eSIM – Wrapping Up
Managing your eSIM profiles—whether deleting or replacing—isn’t rocket science, and with this simple guide, you should feel confident enough to handle it smoothly. Remember, the flexibility eSIM technology brings to our digital and travel lives is well worth these occasional management tasks.
Have you recently switched your eSIM? Let me know your experiences or if there are any tips you’d recommend! Want to try an eSIM? Get a free 1 GB valid in 80+ countries for the next 2 years!